2026-10-23 ·
Step By Step Guide To Preparing For Spray Foam Removal
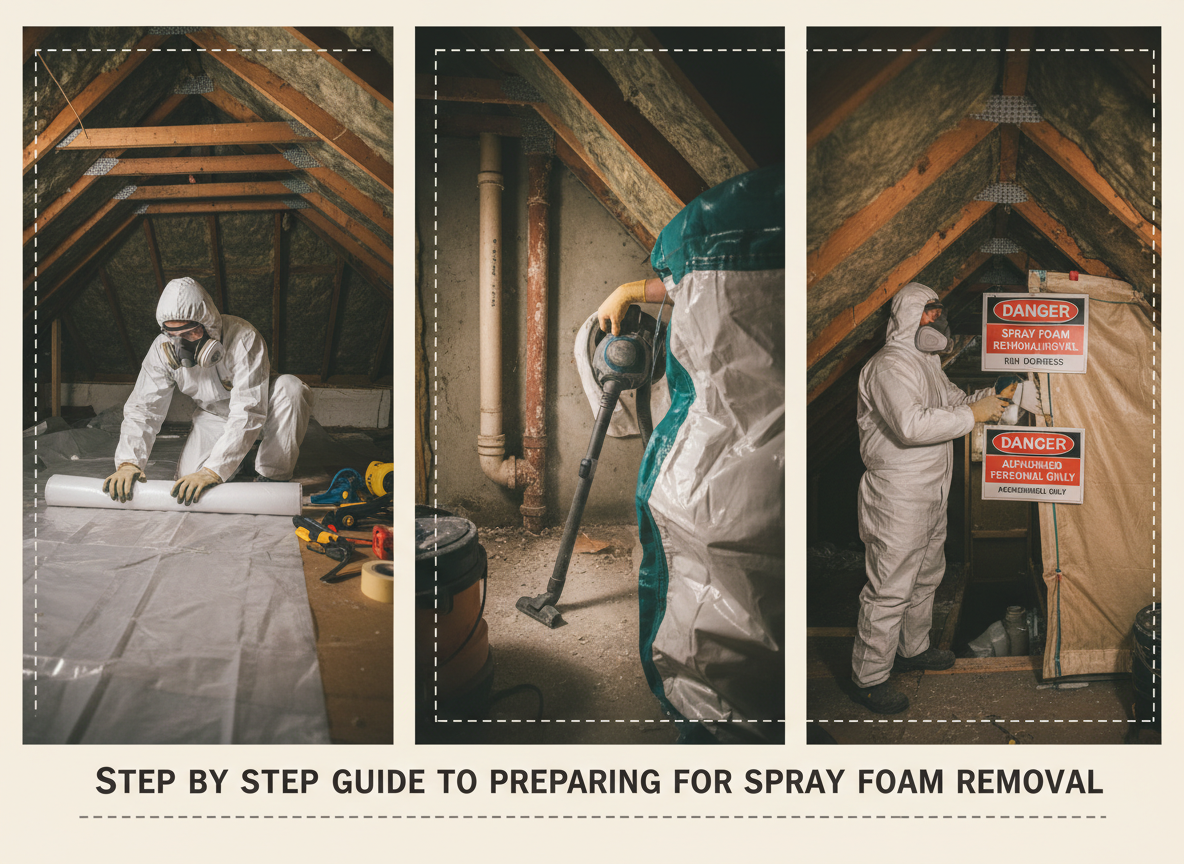
Preparing your London property for spray foam removal starts with a clear inspection of the foam type and location, followed by clearing access routes, protecting surfaces, and confirming ventilation needs. In older stock such as the Victorian terraces found in Holloway and Barnsbury, this sequence usually takes one to two days before the removal team arrives.
Assessing Insulation Type and Condition
Begin by identifying whether the foam is open cell or closed cell, as each behaves differently during removal in London’s damp climate. Closed cell foam bonds tightly to brick and timber in pre-1919 homes across the N7 postcode, while open cell material often traps moisture after winter rainfall. Walk through the loft or attic during daylight and note any sagging boards or discoloured plaster that could indicate water ingress from the capital’s frequent showers. An insulation assessment helps map the full extent without guesswork. Record measurements of the treated area so the crew can plan equipment size and disposal skips. Homeowners in Caledonian Road terraces often discover foam applied over original lath and plaster, requiring extra care to avoid cracking ceilings below.
Clearing Access and Protecting Surfaces
Remove stored items, insulation debris and loose flooring from the work zone at least 24 hours before the team reaches your address. In Highbury and Archway properties, narrow loft hatches mean every box must come down the stairs first to prevent bottlenecks. Lay heavy-duty plastic sheeting over carpets and floorboards in rooms directly below, securing edges with tape rated for masonry dust. London’s older floor joists can shift under concentrated weight, so place plywood sheets across any suspect boards before heavy tools enter. Keep electrical consumer units accessible and label circuits feeding loft lights so power can be isolated safely. Residents near Kentish Town often leave a clear path from the front door to the hatch because equipment trolleys must roll straight through.
Safety and Ventilation Preparations
Open windows on the floor below the work area to create cross-flow once cutting begins, especially useful during the humid summer months when London temperatures rise. Fit temporary dust sheets over smoke alarms and light fittings to stop fine particles triggering false alarms in converted flats. Check that all pets and children have a separate space away from the property for the duration of the job. In Finsbury Park homes with shared lofts, notify neighbours 48 hours ahead so they can plan around noise from extraction tools. Confirm the crew will use negative-air machines to contain dust, a standard step when working inside tight Victorian roof voids.
Coordinating with the Removal Team
Contact the operator based at 1 Hillmarton Rd, London, N7 9JE to confirm arrival time and any site-specific requirements such as parking for the 24/7 Spray Foam Removal van. Provide recent photos of the loft hatch and any known asbestos locations common in 1930s extensions around Camden Town. Schedule the visit after a dry spell if possible, because wet foam is heavier and harder to section cleanly. Discuss whether the project involves loft spray foam removal or cavity wall spray foam removal so the correct containment is brought on site. Readers wanting cost context can review What Affects Spray Foam Removal Costs Across Greater London before booking.
Final Checks Before Work Begins
Walk the route with the lead technician on arrival and point out any fragile plaster or recent redecorating. Verify that all requested protection is in place and that bins or skips have been ordered for the removed material. Once these steps are complete, the crew can focus on controlled extraction without delays caused by unexpected obstacles in London’s dense housing stock.